DOCUMENTARY UNIT
In this unit we are creating our own documentaries, due to COVID they have to be made at home, using our own equipment. On this blog page I have logged each stage of my work.
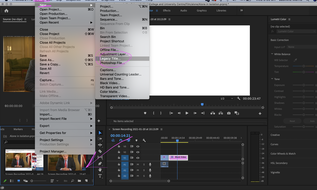
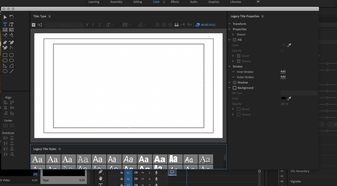
W/B- 29/02/21This week has probably been the hardest part of making the film, in terms of technical skill and ability. After collecting all of my footage and choosing sound, the next step is editing the clips down and creating a final cut. Luckily, I have access to Premier Pro, which is an advanced editing software created by Adobe. - O N E - 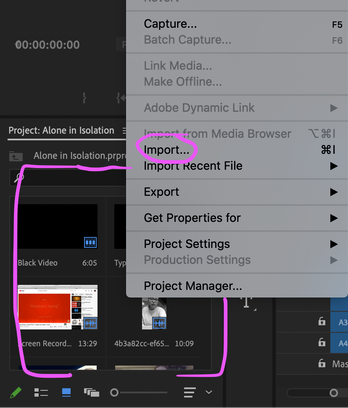 File -> Import The first thing to do is open up Premier Pro and create a new file, I made sure to save this to the cloud to ensure it is safe and backed-up. Next, I imported all my footage into my file, I was then able to see all my clips in the project section and able to drag and drop them to the sequence. - TWO - 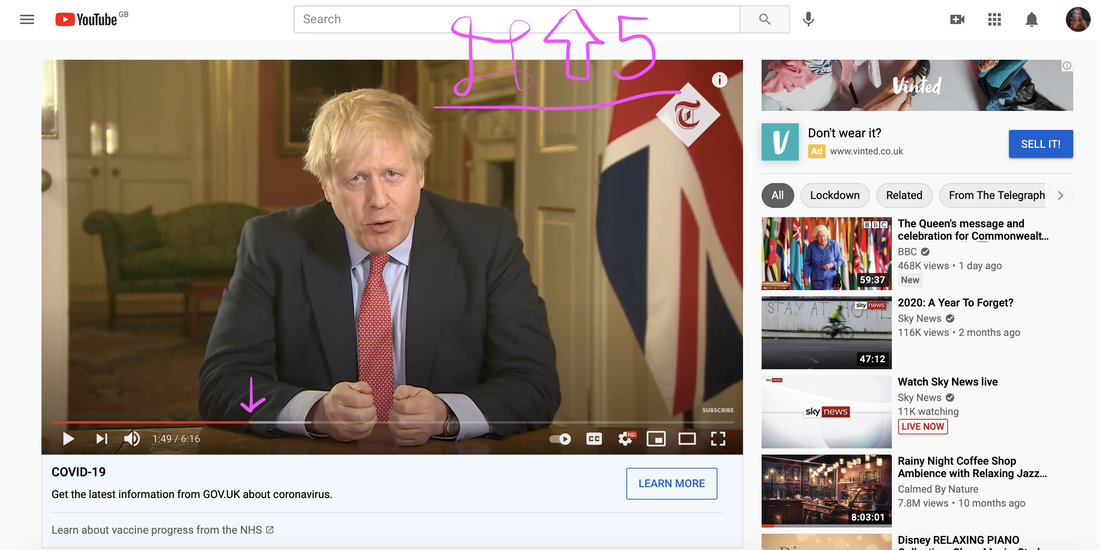 The first clip I wanted to include, at the opening of my documentary, is Boris Johnson announcing the first lockdown back in March of 2020. I believe this adds context to the documentary, but also suspense, as this was a very hard time for everybody. To include this clip, I firstly found it on Youtube, then I screen recorded (using command, shift 5) from the point I wanted. I then cut the clip in Premier Pro. - THREE - For my video title, I wanted to experiment with a cool effect, I felt like it appearing on the screen like a type writer would add visual interest- as I already knew that there was going toe lots of text in the film anyway. To do this I followed a Youtube tutorial... below are some of the steps I followed. Looking back I think I regret spending so much time on this, although the results are okay, it was very advanced and took up a lot of quality editing time I had and I don't think the pay off was enough.
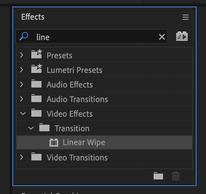
-THREE - After adding the opening clip and the title, I started to focus on my own footage. On some of the clips I wanted just the sound- and not the video, therefore I had to unlink the audio and picture on my timeline. This was quite easy and meant that I was then able to add my own video on top of the audio. 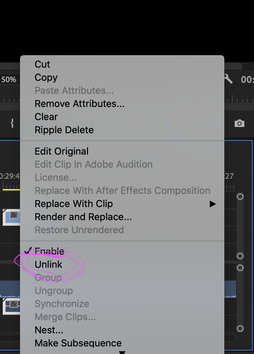 Right Click -> Unlink - FOUR - Some of my clips where slightly too small (or too large) to fit the frame, therefore I needed to use the crop tool. I found this in the effects bar and dragged it onto the desired clips. I was then able to crop each clip to the right dimensions using the sliders. I also had the option to 'zoom', this a box you can tick where the program automatically fits the frame. 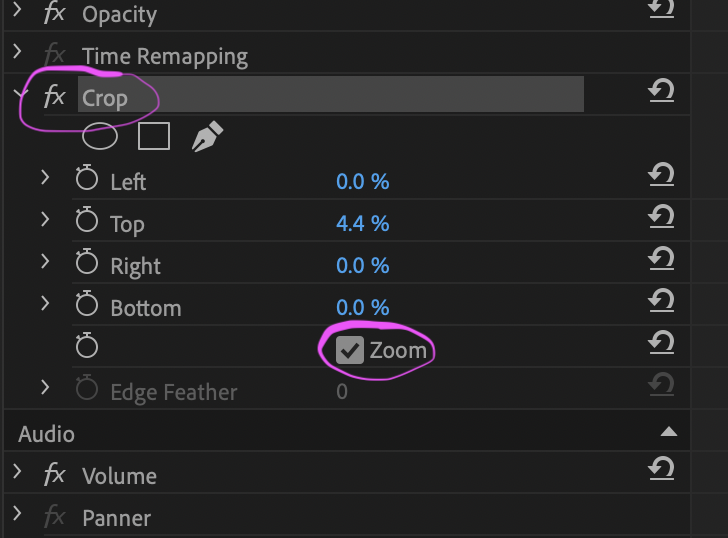 Cropping tool/effect. - FIVE - 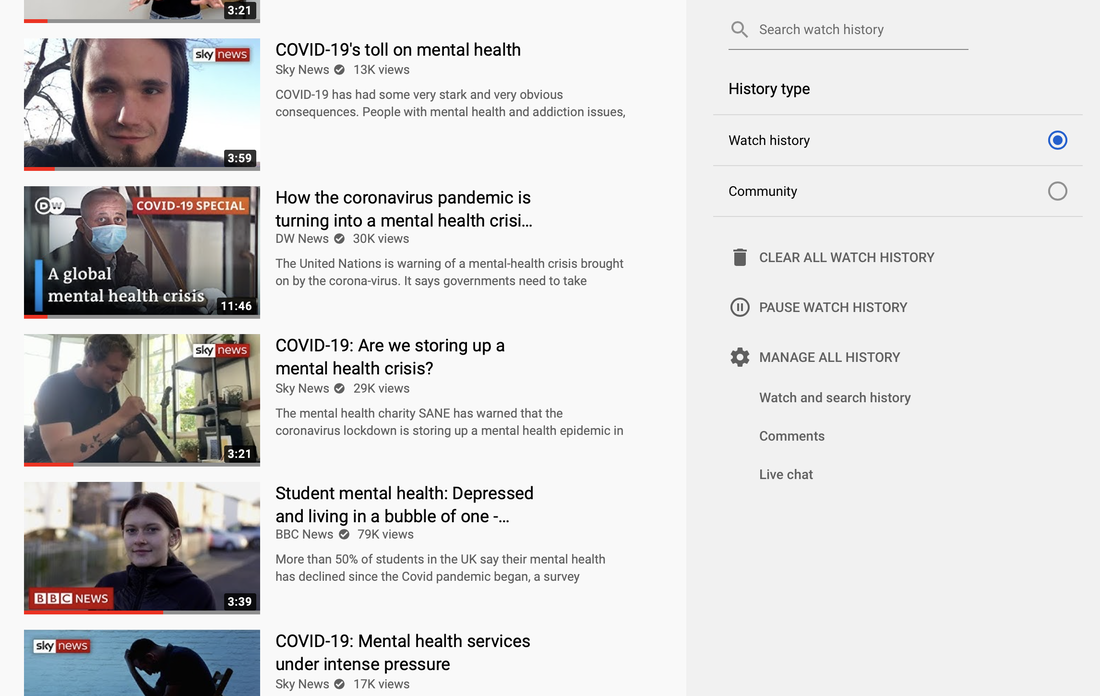 Youtube history - Searching for relevant videos to include. To give my documentary a sense of reality and to further amplify how serious mental health and loneliness is, I searched YouTube for some news clips I could include. I had to make sure they fit the tone, but also had no loud background noise or music. Including these clips really added to the atmosphere of the documentary. - SIX -  Controlling sound using keyframes. I then explored playing with the volume and sound design. When importing my music, I didn't know how to control the volume or know how to create fades, so I took to YouTube to learn off of tutorials. I disproved how keyframes work, adding those gave me more control over when and where the music would be more dominate. On parts where I had no talking and just images, I focused on the music a lot more, to add atmosphere. However, on parts like the news articles, where there are lots of diegetic sound, I made the music a lot quieter, so the stories could be heard. Overall, I had a lot of fun during the editing process. Although it was hard and I had to teach myself a lot of the editing techniques, I now feel as if I know so much more about how Premier Pro works and how to navigate around the software.
0 Comments
|
AuthorJasmine Victoria Morris Archives
March 2021
Categories
All
|

 RSS Feed
